To achieve a perfect drywall finish, you'll need quality tools and strategic techniques. Start by thoroughly cleaning and inspecting your wall, using fiberglass mesh tape for repairs. Apply thin, even layers of joint compound with a taping knife, focusing on smooth blending along seams. Sand gradually with progressively finer grits, using light pressure and angled lighting to catch imperfections. Conquer these steps, and you'll uncover the secrets to professional-looking walls.
Essential Tools and Materials for Drywall Finishing
Tackling a drywall finishing project requires the right set of tools and materials to guarantee a smooth, professional-looking result. You'll need a few key items to become an expert in compound application techniques and achieve a flawless finish.
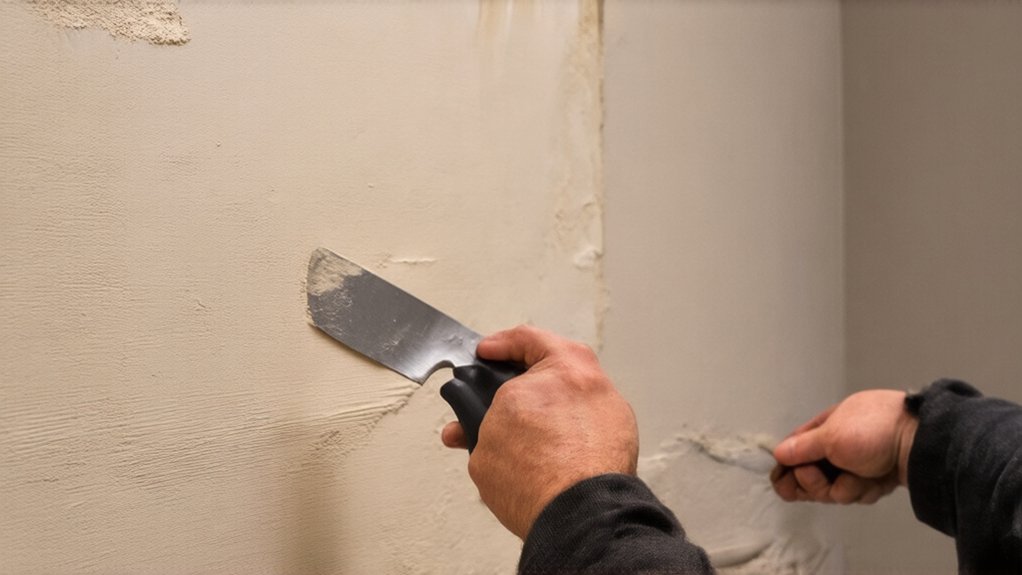
Essential tools include a 4-inch and 6-inch putty knife, sanding block, utility knife, and drywall taping knife. Gather joint compound, corner bead, drywall tape, and sandpaper before you start. Proper tool usage is critical for creating seamless walls.
With the right equipment and a bit of patience, you'll alter your space from rough to polished, giving your walls a perfected, professional appearance. Skilled contractors in Erie have decades of experience perfecting drywall installation and repair techniques.
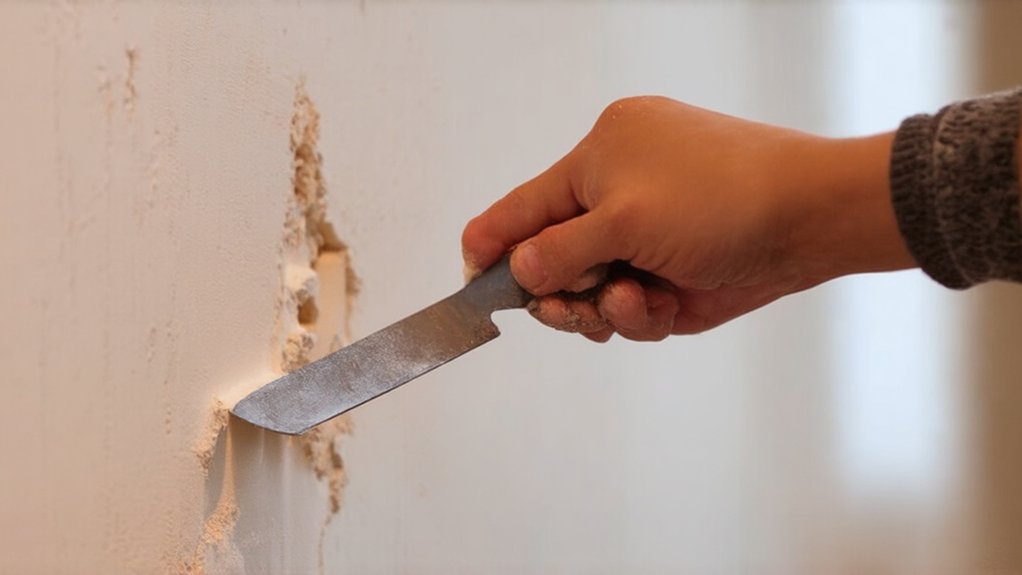
Preparing Your Wall Surface for Joint Compound
Before applying joint compound, you'll want to guarantee your wall surface is scrupulous prepared and ready for seamless finishing. Start by thoroughly cleaning the wall, removing dust, debris, and loose particles that could compromise adhesion. Drywall repair professionals recommend using industry-standard materials like fiberglass mesh tape to reinforce repairs for long-lasting results. Carefully inspect the surface for imperfections like small holes, cracks, or uneven areas that'll need attention before compound application. Use a bright light to highlight these spots, making them easier to identify and repair. Sand down any rough patches, ensuring a smooth, even surface that'll provide the perfect canvas for your joint compound work.
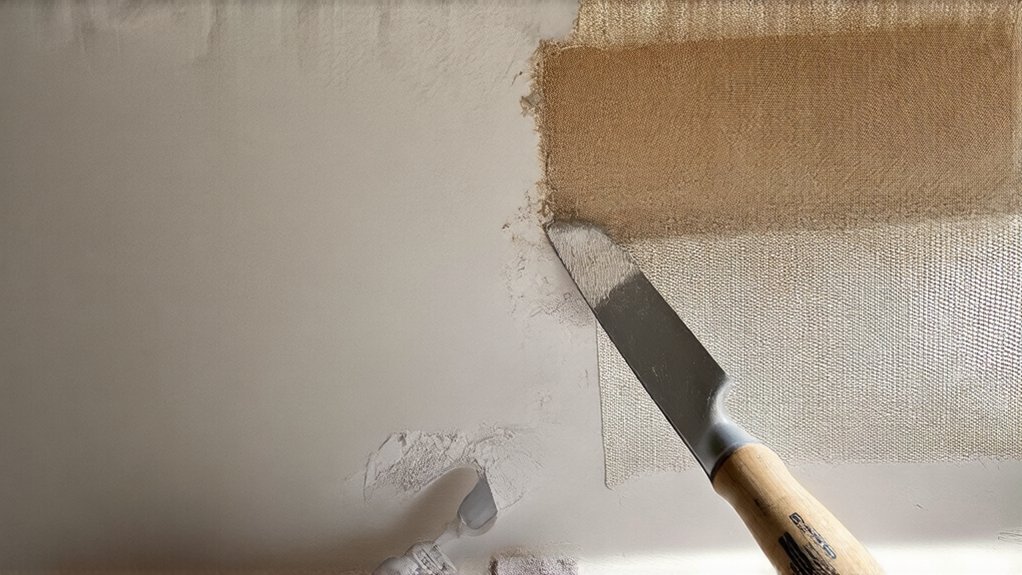
Applying the First Coat of Joint Compound
With your wall surface carefully prepared, you're now ready to apply the first coat of joint compound, a critical step in achieving a smooth, professional finish.
Begin by loading your taping knife with a moderate amount of compound, spreading it evenly along the drywall seams and screw holes. Use smooth, consistent blending techniques to guarantee the compound feathers out seamlessly, avoiding visible seams.
Work methodically, applying thin layers and maintaining a light touch. Don't worry if it's not perfect; this first coat lays the groundwork for a flawless wall.
Sanding and Smoothing Techniques
Once you've allowed the first coat of joint compound to dry completely, you'll want to smooth out any imperfections using strategic sanding techniques. Proper grit selection is essential for achieving a flawless finish.
Here are key strategies for effective sanding:
- Start with coarser sandpaper (120-150 grit)
- Gradually move to finer grits (220-320)
- Use light, even pressure while sanding
- Employ circular or cross-hatch sanding patterns
- Check your work under bright, angled lighting
Take your time and work carefully. Your patience will pay off with a smooth, professional-looking surface that'll make you proud of your drywall finishing skills.
Pro Tips for a Flawless Drywall Finish
Perfection in drywall finishing isn't just about technique—it's an art form that demands attention to detail and strategic approaches. You'll want to become an expert in proper taping techniques to create seamless walls that look professionally done.
Start by applying thin, even layers of joint compound, allowing each layer to dry completely before sanding. Choose high-quality tools and materials, and don't rush the process. Effective drying methods are indispensable; use fans and maintain consistent room temperature to prevent bubbling or uneven surfaces.
Frequently Asked Questions
How Long Does It Take for Joint Compound to Completely Dry?
You'll need 24 hours for standard joint compound to dry completely, depending on moisture level requirements. Proper drying duration varies with humidity and thickness, so you'll want to be patient and confirm full, even drying before sanding.
Can I Apply Joint Compound Over Old Painted Walls?
Yes, you can apply joint compound over painted walls, but you'll need proper painting preparation. Sand the surface lightly to create texture, ensuring better adhesion for your textured surface application before adding the compound.
What's the Best Way to Fix Small Holes in Drywall?
You'll want to patch small holes with spackle, using a putty knife to smooth the surface. Then, carefully sand repaired areas until they're flush with the wall. It's an easy DIY fix that'll make your space look seamless and well-maintained.
How Do I Prevent Bubbles From Forming in Joint Compound?
You'll prevent bubbles by using proper application technique, spreading compound smoothly with minimal pressure. Guarantee adequate ventilation and avoid overworking the surface. Let layers dry completely between coats, and you'll achieve a flawless, bubble-free finish that'll make you proud.
Is It Necessary to Use Mesh Tape on All Seams?
You'll want mesh tape for tricky spots like corners and stress points, but paper tape works well for hidden seams. Professional finishers recommend matching tape to your specific drywall repair needs for seamless, crack-resistant results.