To apply knockdown texture like a pro, you'll need a hopper gun, joint compound, and protective gear. Start by cleaning and priming your wall, repairing any imperfections. Mix the texture compound to the right consistency, then spray it evenly using the hopper gun. Once applied, wait briefly, then use a knockdown knife at a 45-degree angle to flatten peaks gently. Sand lightly, prime, and paint for a smooth, professional finish. Stick around for more expert tips.
Gather Your Tools and Materials
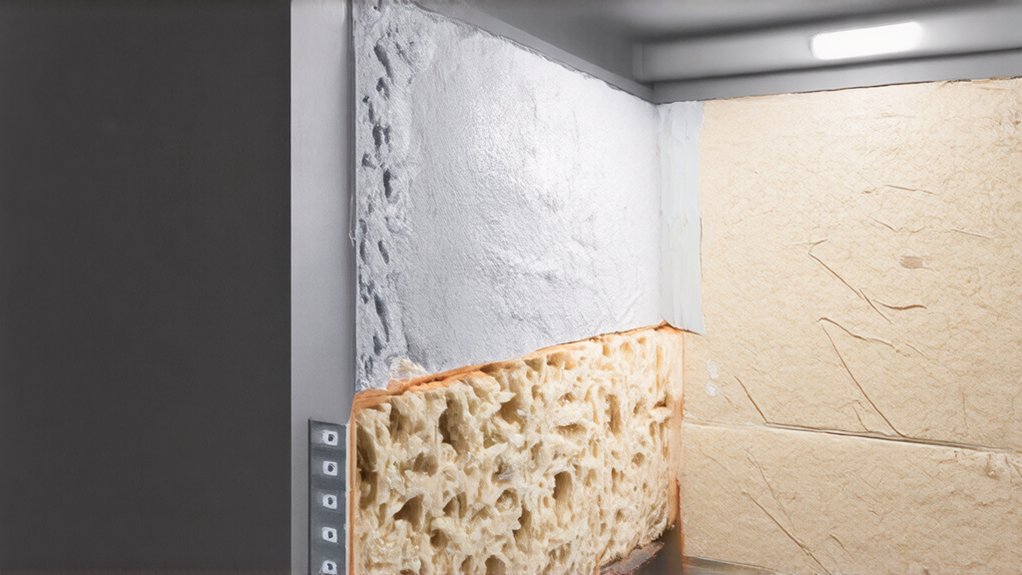
Before diving into your knockdown texture project, you'll want to collect all the necessary tools and materials to guarantee a smooth and successful application. You'll need a hopper gun for spray application, which allows for consistent texture variations across your walls. Skilled drywall technicians recommend selecting high-quality materials to ensure a professional finish.
Gather protective gear like safety glasses, a dust mask, and work gloves to keep yourself safe. Prepare painter's plastic, painter's tape, drop cloths, and a ladder to protect your workspace. Choose between premixed or powdered joint compound, depending on your preference and project requirements. Having everything ready will make your texture application much easier.
Prepare the Wall Surface
Wall preparation sets the stage for a flawless knockdown texture finish. Before diving into the application, you'll want to guarantee your surface is primed and ready. Professional drywall contractors in Erie, PA recommend meticulous surface preparation to ensure optimal results.
Follow these key steps:
- Clean the wall thoroughly, removing dust and debris
- Repair any holes or cracks with spackling compound
- Sand the surface to create a smooth, even base
- Prime the wall to amplify texture adhesion
You'll want to prime the surface carefully, smoothing any imperfections to create a professional canvas. Taking time to prepare secures your knockdown texture will look polished and seamless, giving you a sense of satisfaction in your home improvement project.
Mix and Apply the Texture Compound
A knockdown texture requires precise compound mixing and application techniques that'll determine your final wall's aesthetic appeal.
Start by selecting a premixed texture compound or preparing your own with joint compound and water. Achieve proper mixture consistency by stirring until you've reached a thick, pancake batter-like texture that'll spread evenly.
Use a hopper gun or roller to apply the compound uniformly across the wall surface. Work in small sections, maintaining a consistent pattern and thickness.
Allow the compound to set for a few minutes before using a knockdown knife to flatten the peaks, creating that distinctive, smooth-yet-textured finish.
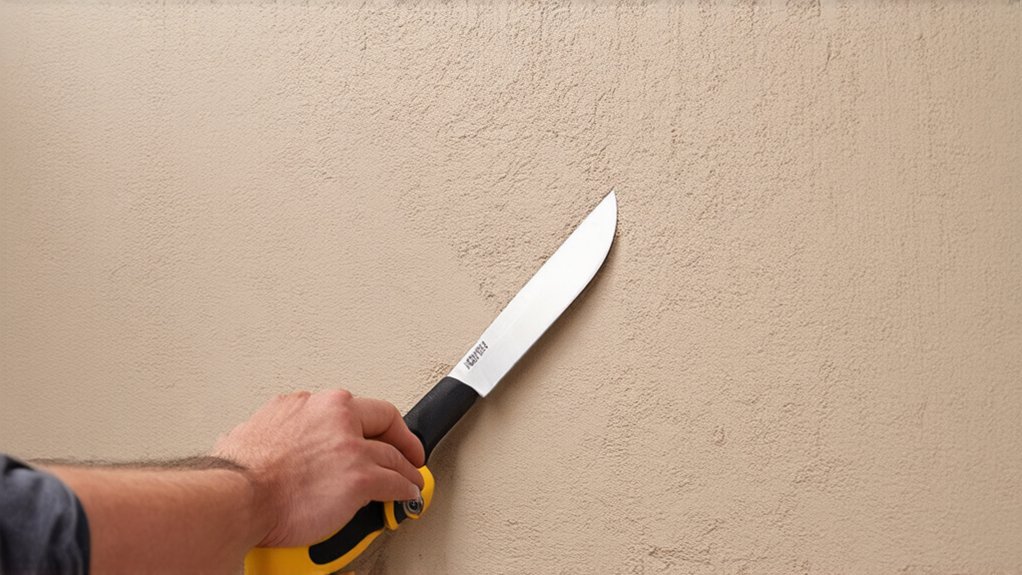
Knockdown the Texture
Once you've applied the texture compound, grab your knockdown knife and let the flattening begin. Your goal is achieving smooth application and consistent coverage that'll make your walls look professionally finished.
Key techniques for knockdown success:
- Hold the knife at a 45-degree angle
- Apply gentle, even pressure
- Work in systematic sections
- Move quickly before texture dries
You'll want to flatten the peaks without completely smoothing out the texture. By using controlled, deliberate strokes, you'll create a stunning, subtle pattern that adds depth and character to your walls. Stay confident and patient—perfection comes with practice.
Finishing and Painting Tips
Perfection demands the right finishing touches after your knockdown texture application. You'll want to guarantee your surface is smooth and ready for paint.
Start by lightly sanding any rough spots with fine-grit sandpaper, which helps create an even painting surface. Allow the texture to dry completely before proceeding with painting.
Choose a quality primer that's compatible with your texture application techniques, as this will help seal the surface and provide better paint adhesion. When painting, use a roller with a medium nap to match the texture's depth, verifying a professional and uniform appearance.
Frequently Asked Questions
Can Knockdown Texture Be Applied Over Existing Wallpaper?
You'll want to remove existing wallpaper first, as texture won't adhere properly. Professional results require carefully stripping wallpaper, preparing the surface smoothly, and ensuring a clean base before applying your knockdown texture technique.
How Long Does Knockdown Texture Take to Completely Dry?
You'll typically wait 10-24 hours for knockdown texture to completely dry, depending on humidity and room temperature. Using proper application techniques guarantees even drying and a professional finish that'll make your walls look smooth and expertly crafted.
Is Knockdown Texture Suitable for Every Room in My Home?
You'll find knockdown texture works well in most rooms, but consider your desired aesthetic appeal. Some spaces like formal living areas might benefit from smoother finishes. It's about matching the material choices to your home's unique style and atmosphere.
What Are the Most Common Mistakes People Make When Applying Knockdown?
You'll struggle if you don't mix your compound correctly or apply texture unevenly. Inconsistent application ruins the professional look, and improper mixing ratios lead to clumpy, uneven surfaces that'll make your walls look amateur and disappointing.
Can I Create Knockdown Texture Without Using a Specialized Knockdown Knife?
You can create knockdown texture using alternative texture application methods like a trowel or putty knife. Commercial knockdown options exist that'll help you achieve a professional finish without specialized tools, making your DIY project feel achievable.