To hang drywall like an expert, you'll need the right tools: a sturdy ladder, measuring tape, utility knife, and drill. Start by carefully measuring and cutting sheets to fit precisely, scoring with a sharp knife and snapping for clean edges. Secure panels to wall studs with evenly spaced screws, ensuring tight but not over-tightened attachment. Your next steps involve precise taping and mudding techniques that'll alter rough surfaces into smooth, professional-looking walls. Want to become an expert on every detail?
Essential Tools and Materials for Drywall Installation
Precision is the cornerstone of successful drywall installation, and having the right tools and materials can make all the difference in your project. You'll need a sturdy ladder, measuring tape, utility knife, drywall saw, drill, screwdriver, and a T-square for accurate cutting.
When handling drywall sheets, use proper drywall handling techniques to prevent damage. Consider drywall storage considerations like keeping sheets flat and dry in a clean, level area.
Protective gear such as safety glasses, dust masks, and work gloves are essential for your safety and comfort during the installation process. Local drywall contractors in Erie, PA recommend professional tools and techniques for the best results.
Measuring and Cutting Drywall Sheets With Precision
The art of measuring and cutting drywall sheets demands careful attention and methodical technique. You'll want to start by measuring your wall space precisely, using a quality tape measure and marking your measurements clearly.
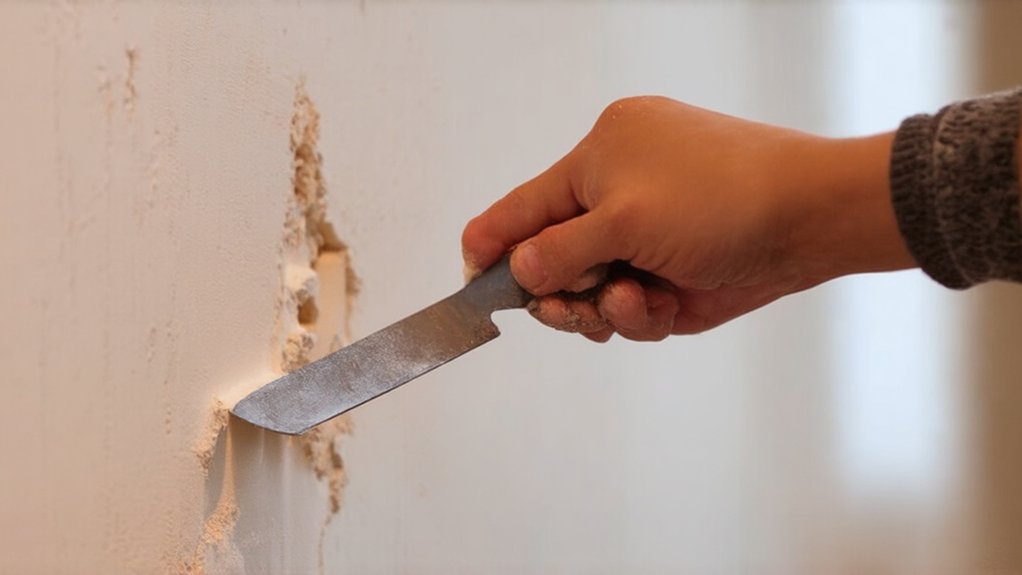
Your cutting techniques will make a significant difference in how professionally your drywall looks. Use a sharp utility knife and a straightedge to create clean, accurate cuts. Remember to measure twice and cut once—this prevents costly mistakes.
Scoring the drywall's surface and then snapping it along the cut line guarantees a smooth, precise edge that'll fit perfectly during installation. Moisture-resistant drywall materials can provide additional durability and protection in areas prone to humidity or potential water exposure.
Preparing the Workspace and Framing
Before diving into drywall installation, you'll want to guarantee your workspace is painstakingly prepared and your framing is rock-solid. Start by clearing the area of furniture and protecting floors with drop cloths.
Inspect your wall and ceiling framing carefully, ensuring each stud and joist is straight, aligned, and securely fastened. Securing wall framing requires checking for warped or damaged lumber, replacing compromised pieces, and reinforcing ceiling joists with additional blocking if necessary.
Creating a stable foundation isn't just about precision—it's about setting yourself up for a professional, seamless drywall finish that'll make you proud.
Hanging Drywall on Walls and Ceilings
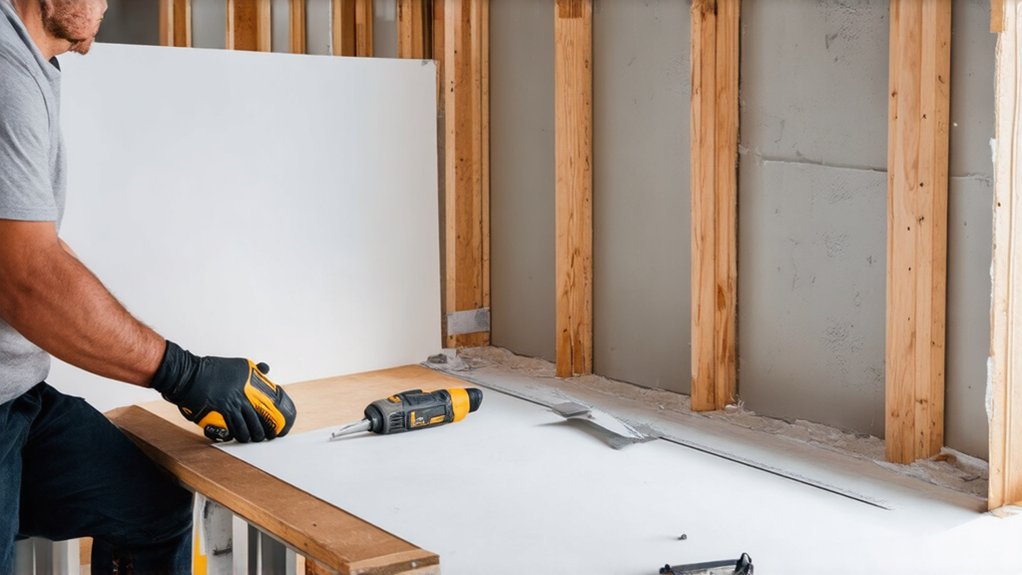
Every successful drywall installation hinges on strategic placement and secure attachment of panels to wall and ceiling frames.
You'll want to start by measuring and cutting panels precisely, ensuring they fit snugly against studs. Wall anchoring requires careful alignment, so use a level to guarantee straight lines and prevent future alignment issues.
When hanging ceiling panels, work with a helper to manage weight and achieve flat surfaces. Secure panels with screws, spacing them evenly and avoiding over-tightening.
Taping and Mudding Drywall Seams
After securing drywall panels firmly against wall and ceiling frames, you'll want to focus on creating smooth, seamless surfaces through precise taping and mudding.
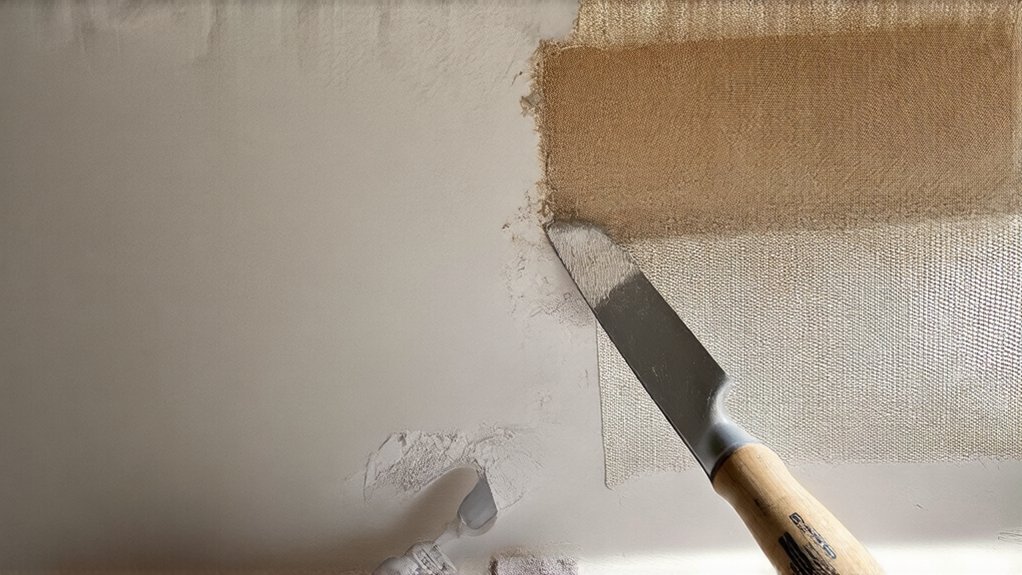
Start by applying joint compound along each seam using a 6-inch drywall knife, pressing mesh tape into the wet compound. Spread a thin, even layer that covers the tape completely, ensuring no air bubbles or gaps remain.
Let the first coat dry thoroughly, then sand lightly and apply a second coat to feather the edges. Finishing drywall seams takes patience, but you'll achieve professional-looking results with practice.
Sanding and Finishing Techniques
Carefully sanding drywall joints alters rough, uneven surfaces into smooth, professional-looking walls that are ready for painting. You'll want to use fine-grit sandpaper and gentle, circular motions to achieve the best results when finishing joints.
Start with 120-grit sandpaper and work carefully to verify you've eliminated all bumps and imperfections before priming and painting. Take your time and wear a dust mask to guard yourself. Achieving smooth texture requires patience and a light touch.
Check your work under good lighting to confirm you've removed all bumps and imperfections before priming and painting.
Troubleshooting Common Drywall Installation Challenges
Most drywall installations encounter unexpected challenges that can test even an experienced DIYer's patience and skill.
When dealing with uneven surfaces, you'll want to use shims or carefully cut pieces to guarantee a smooth, level finish. Inside corners can be particularly tricky, requiring precise cutting and careful joint taping.
You might find slight gaps or slight misalignments that seem frustrating, but don't worry—these are common issues. With the right techniques and a bit of practice, you'll learn to manage these challenges confidently.
Frequently Asked Questions
How Long Does It Take a Beginner to Hang Drywall in One Room?
You'll need about 6-8 hours for drywall installation in a standard room, depending on space conditions and your skill level. Take your time, measure carefully, and don't rush—you'll get better with practice and feel proud of your work.
Can I Install Drywall by Myself or Do I Need Professional Help?
You can handle drywall installation yourself, but your DIY skills have limits. Consider professional proficiency if the project seems complex or you're unsure. Seek advice from experienced pros to amplify your confidence and guarantee quality results.
What's the Average Cost of Drywall Materials for a Standard Bedroom?
You'll spend around $300-$500 on drywall materials for a standard bedroom. Expect drywall material costs between $0.50-$0.75 per square foot, depending on room size and quality. Your DIY project is totally doable with the right preparation!
How Do I Know if My Walls Are Straight Enough for Drywall?
You'll want to check your walls' straightness using plumb lines and level indicators. These tools help you identify any warping or unevenness, ensuring a smooth drywall installation that'll make your space look professionally finished and inviting.
Will Hanging Drywall Increase My Home's Overall Value and Resale Potential?
You'll augment your home's resale value by professionally hanging drywall, as it amplifies interior aesthetics and increases home equity. Smart homeowners know that well-finished walls signal quality craftsmanship, making your property more attractive to potential buyers.