Installing ceiling drywall doesn't have to be a struggle. You'll need the right tools, helpers, and technique to make the job easier. Start by measuring carefully, using a drywall lift or extra hands to position panels, and securing them with staggered screws along the joists. Take your time cutting precise panels, and apply joint compound in thin layers. Want to become an expert in the finer points of a flawless ceiling installation?
Tools and Materials You'll Need
Before diving into your ceiling drywall installation project, you'll want to gather several essential tools and materials to guarantee a smooth and successful process. You'll need a ladder, tape measure, utility knife, drill, drywall saw, and chalk line to mark your ceiling joists accurately. Protective gear like safety glasses and a dust mask are pivotal. Residential drywall professionals in Erie, Pennsylvania recommend consulting experts if you're unsure about any part of the installation process. Stock up on drywall sheets, drywall fasteners, joint compound, and paper tape. Don't forget screws designed specifically for ceiling installations, which will help secure the drywall firmly. Your preparation now will save you time and frustration later.
Preparing Your Workspace and Ceiling Framework
With your tools and materials assembled from the previous section, you're now ready to set up a workspace that'll make your ceiling drywall installation smooth and efficient. Begin by carefully inspecting your ceiling joists, checking for any damage, warping, or structural issues that could compromise your project. Drywall installation techniques from local Erie professionals recommend using high-density, moisture-resistant materials to ensure long-term durability and performance. Guarantee proper ventilation in the work area to prevent moisture buildup and potential mold growth. Clear the room of furniture and cover the floor with drop cloths to protect against dust and debris. Take time to measure and plan your approach, which'll help you avoid costly mistakes and frustration during installation.
Measuring and Cutting Drywall Sheets
Measuring and cutting drywall sheets accurately sets the foundation for a professional-looking ceiling installation. You'll want to carefully map out your ceiling joists positioning to guarantee precise sheet placement.
Measure twice and cut once, using a utility knife and straightedge to create clean, straight lines. When aligning drywall seam alignment, remember that sheets should meet at the center of joists for maximum stability.
Take your time with measurements, as rushing can lead to costly mistakes. Precise cuts will help you achieve a smooth, seamless ceiling that looks professionally installed.
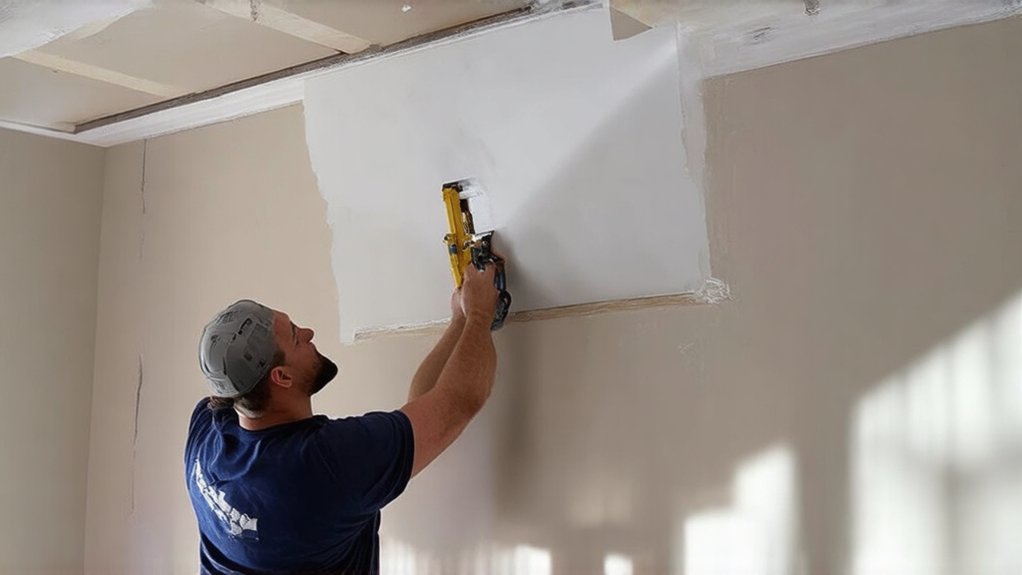
Lifting and Positioning Drywall Panels
After carefully measuring and cutting your drywall sheets, you'll need a strategic approach to lifting and positioning these heavy panels on your ceiling. Avoiding strain is vital, so don't attempt to lift panels alone. Utilize assistants or invest in a drywall lift, which can make the process much easier and safer.
You'll want at least one person to help you align the panel perfectly against the ceiling joists. Communicate clearly with your helper, move slowly, and make certain the panel is level before securing it with screws. Teamwork makes this challenging task manageable.
Securing Drywall With Screws and Techniques
Drywall screws can make or break your ceiling installation, so you'll want to nail down the right techniques. Choose screws specifically designed for drywall, typically 1¼-inch long, to guarantee secure fastening.
When installing, you'll want to stagger screws about 8 inches apart, creating a stable surface that prevents sagging or warping. Drive screws slightly below the surface without breaking the paper backing, which could compromise the panel's integrity. Use a drill with adjustable depth control to maintain consistent screw placement.
Practice steady hand movements and maintain even pressure for professional-looking results.
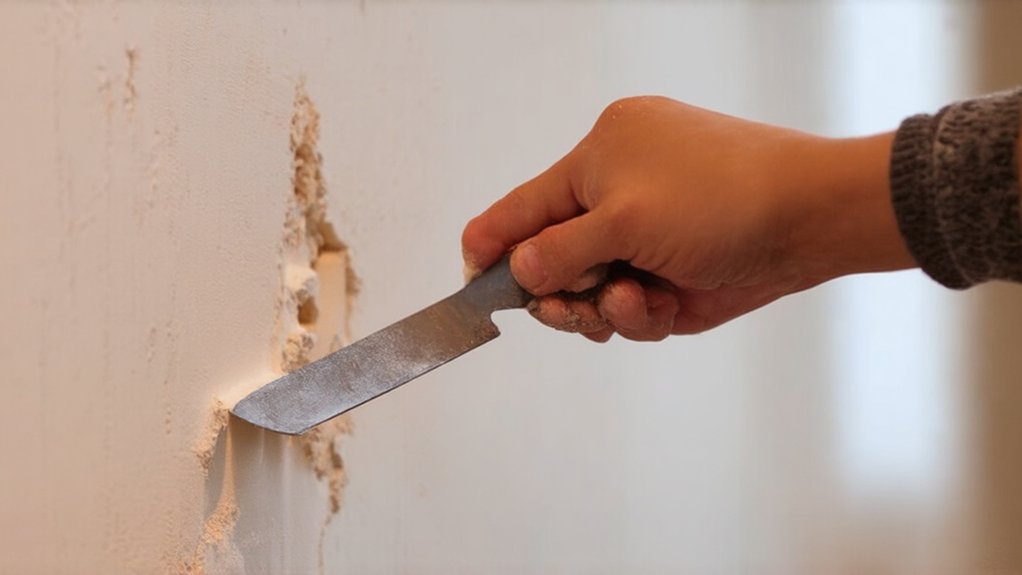
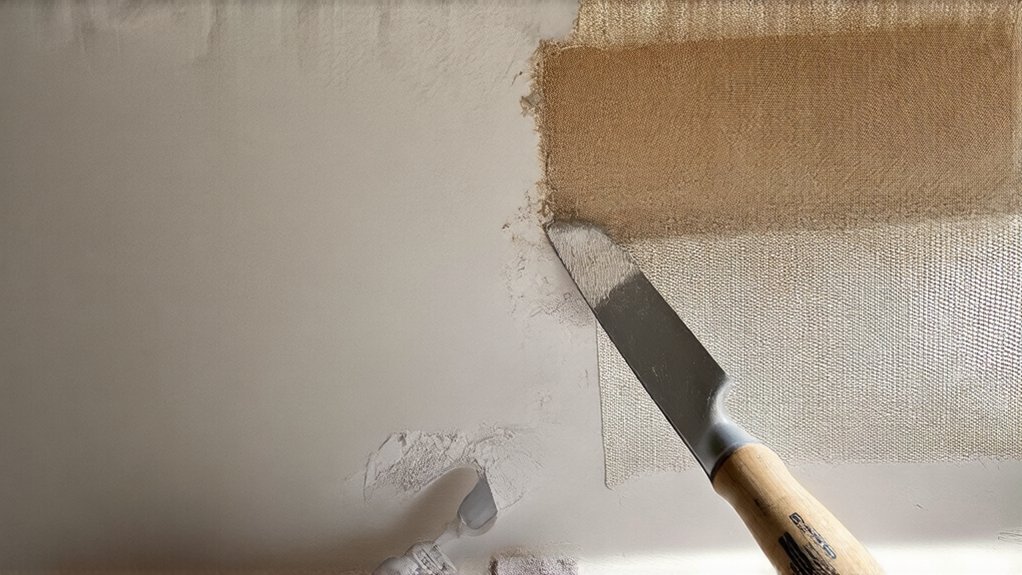
Taping, Mudding, and Finishing Touches
Once your screws are perfectly placed, the next phase involves hiding those seams and creating a smooth, professional-looking ceiling. You'll start by applying joint compound along the seams, using a wide drywall knife to spread the mud evenly. Carefully blending seams requires patience and a steady hand.
Work methodically, ensuring each layer is thin and smooth. Let each coat dry completely before sanding lightly with fine-grit sandpaper. Multiple thin layers will give you a more polished finish than one thick application. Your goal is a seamless, uniform surface that looks professionally done.
Frequently Asked Questions
Can I Install Drywall on the Ceiling by Myself?
You can install drywall on a ceiling solo, but it's challenging. With proper ceiling preparation and drywall hanging techniques, you'll need a helper or a drywall lift to make the job manageable and achieve a professional-looking finish.
How Long Does a Typical Ceiling Drywall Installation Take?
Your ceiling drywall installation typically takes 1-2 days, depending on room size and your skill level. Pro DIYers might complete the project faster, while beginners should plan for a full weekend to guarantee a quality finish.
What Are the Most Common Mistakes DIYERS Make?
You'll often mess up by using wrong tools and skipping safety gear. DIY ceiling drywall installers frequently overlook proper measurements, rush the process, and don't secure panels correctly. These mistakes can lead to costly, frustrating repairs later.
Is Professional Help Necessary for First-Time Ceiling Drywall Projects?
While you can tackle a ceiling drywall project solo, professional help's recommended. You'll need proper safety precautions and necessary tools. Don't risk injury or costly mistakes—consider hiring an expert who'll guarantee a smooth, professional finish.
How Much Does It Cost to Drywall a Ceiling?
You'll spend roughly $2-$4 per square foot for ceiling drywall, totaling $500-$1,500 for an average room. DIY ceiling drywall budgeting can save you labor costs, making your home improvement project more affordable and personally rewarding.