You're facing a common problem with peeling or bubbling drywall tape. To fix it, you'll need to assess the damage, gather tools, and prepare the area. You'll remove the old tape, apply new tape and compound, and smooth out the area. By following these steps, you can achieve a seamless repair. You'll find that fixing the issue is manageable, and continuing will provide the guidance you need to complete the job successfully.
Identifying the Cause of the Problem
When dealing with drywall tape issues, you're probably wondering what's causing the problem. You're looking for answers, and it's understandable to feel frustrated. Drywall repair professionals in Erie, PA recommend thoroughly investigating potential underlying causes for tape peeling or bubbling.
Check for structural issues, and consider humidity levels, as they can affect the tape's integrity. It's crucial to identify the root cause to find a solution that works for you and makes you feel more at home.
Gathering Necessary Tools and Materials
You've identified the cause of your drywall tape issue, now it's time to focus on fixing it. Gather necessary tools and materials, considering the root cause. Local drywall contractors recommend a professional approach to complex repairs. Check for moisture, inspecting structural integrity to determine the best approach. You'll need basic supplies, including a putty knife and joint compound, to fix the tape effectively.
Preparing the Area for Repair
Because drywall repair can be messy, it's essential to clear the area around the damaged tape. You're taking the first step towards a seamless fix.
Start by checking for water damage, then inspecting for loose screws. This guarantees a stable surface for repair. Clear the floor, covering it if needed, to prevent damage from debris. Now, you're ready to move forward, feeling more in control of the repair process.
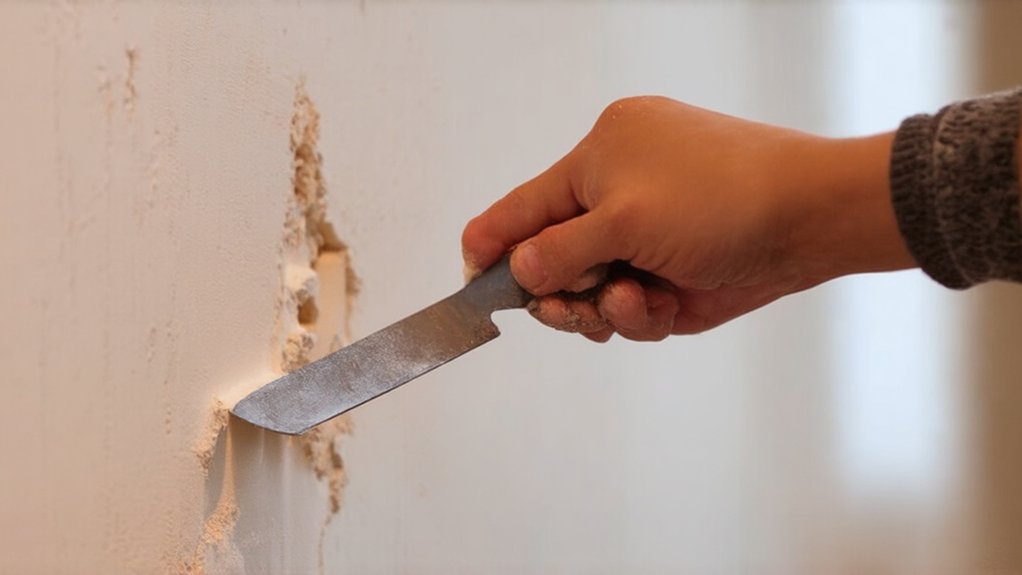
Removing the Old Drywall Tape
Removing old drywall tape is a vital step in the repair process. You'll need to scrape it off carefully, checking for mold and water damage. Be gentle to avoid damaging the surrounding drywall. Take your time, and don't rush the process. It's frustrating, but it's imperative to get it right.
Check for any remaining tape or debris, and make sure the area is clean before moving forward, considering the potential for hidden damage.
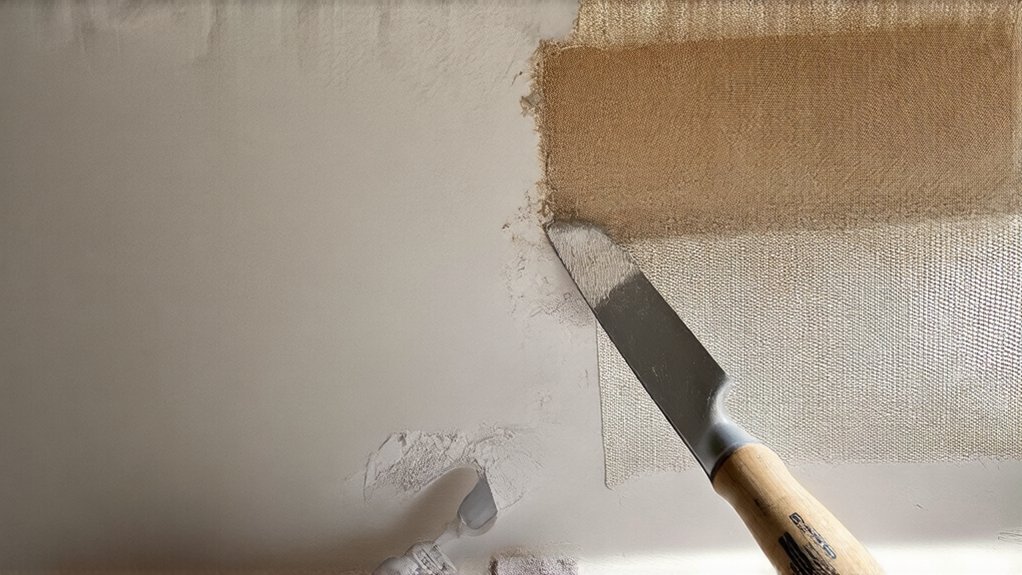
Applying New Drywall Tape and Compound
As you move forward with the repair, applying new drywall tape and compound is a crucial step that requires attention to detail. You're taking control of the repair, and that's a big step.
When applying joint compound, press the tape firmly, minimizing air bubbles. This helps confirm a strong bond, and you'll feel more assured in your repair work.
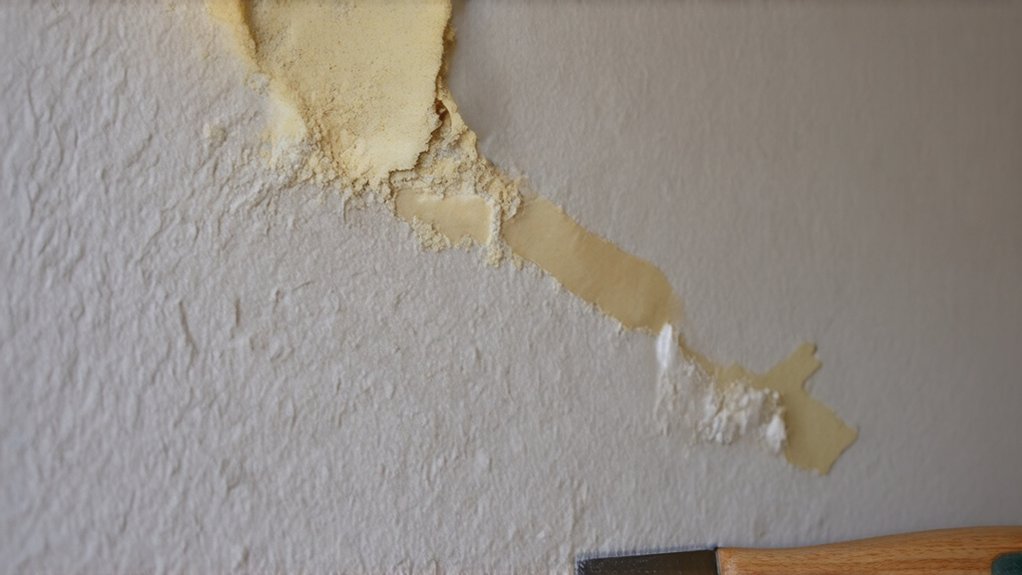
Smoothing and Finishing the Area
You've successfully applied new drywall tape and compound, now it's time to focus on smoothing and finishing the area. You're almost done, and it's going well.
Use a putty knife to feathering the edges, creating a seamless blend. Eliminating air pockets is key, so press firmly. This guarantees a strong bond, and you'll feel confident in your repair. Your hard work will pay off, and your wall will look great again.
Painting and Touching Up the Wall
Since the drywall repair is now complete, it's time to focus on painting and touching up the wall. You're almost done, and this step will make your wall look new again.
Consider priming the wall for better paint adhesion. If needed, texturing the surface will help it blend in with the rest of the wall. Now, you can paint and touch up the area, feeling confident that your repair will last. Your hard work will pay off with a smooth, finished wall.
Frequently Asked Questions
Can I Use Paint to Fix Bubbles?
You're wondering if paint fixes bubbles, but it's not that simple, as it depends on paint consistency and proper paint application to achieve a smooth finish.
Is Drywall Tape Repair Messy?
You'll find that avoiding drywall tape issues requires proper application, and with it, you're minimizing mess, ensuring a sense of community with a smooth, flawless finish, you're creating a welcoming space.
How Long Does Repair Take?
You'll find that repair time varies, depending on drying time and your difficulty level, but don't worry, you're part of a community that's got your back, and it's usually done quickly.
Can I Do It Myself?
You can do it yourself with proper wall preparation and careful sanding techniques, feeling accomplished and connected to your space as you take on the project with confidence and care.
Will It Match the Surrounding Area?
You'll blend the repair with surrounding areas, minimizing texture variations and subtle differences, creating a seamless finish that makes you feel like it's always been that way, belonging perfectly.