To sand drywall joints smoothly, you'll need the right tools and technique. Start with a 120-grit sandpaper and light, consistent pressure, moving in smooth, overlapping strokes. Wear a dust mask and safety glasses to protect yourself. Use a pole sander or hand sander for even coverage, and gradually progress to finer 220-grit paper for a flawless finish. Stay patient and methodical—the secret's in the details.
Essential Tools and Materials for Drywall Sanding
Dusty and demanding, drywall sanding requires the right set of tools to get the job done efficiently. You'll need sanding blocks, sandpaper with varying grits, dust masks, and safety glasses to protect yourself. Different sanding techniques work best with specific abrasive products, so choose wisely. A pole sander helps you reach high areas without a ladder, while hand sanders provide precision for smaller spaces. Remember to select fine-grit sandpaper for finishing touches and coarser grits for initial smoothing. Invest in quality tools, and you'll achieve a professional-looking result that'll make you proud of your hard work. For complex drywall projects, consider local drywall contractors who have the expertise to handle challenging installations and repairs.
Preparing Your Workspace and Surface
After gathering your sanding tools, you'll want to set up a workspace that minimizes mess and maximizes efficiency. Organize your area carefully, laying down drop cloths to catch drywall dust and protect floors.
Position bright work lights to enhance lighting conditions, which helps you spot imperfections more easily. Cover nearby furniture and electronics with plastic sheeting to prevent dust contamination. Wear a dust mask, safety glasses, and comfortable clothing that you don't mind getting dirty.
Clear the room of unnecessary items to create a clean, uncluttered workspace that supports your drywall finishing project. Drywall installation experts recommend using high-density, moisture-resistant materials for optimal results.
Choosing the Right Sandpaper Grit
How do you select the ideal sandpaper grit for smooth, professional-looking drywall joints? When choosing the appropriate sandpaper, start with coarse 120-grit for initial smoothing of rough compound areas.
As you progress, switch to medium 150-grit to optimize surfaces and reduce visible imperfections. For your final pass, select fine 220-grit sandpaper to achieve that ultra-smooth, flawless finish professionals yearn for.
Selecting the perfect grit isn't just about technique—it's about creating a surface that looks seamless and professional. Remember, patience and the right grit will alter your drywall from rough to polished.
Techniques for Manual and Power Sanding
With the right sandpaper grit selected, you'll now want to perfect the sanding techniques that'll convert your drywall joints from rough to polished. When manually sanding, use light, consistent pressure and sweep your hand across joints in smooth, overlapping strokes.
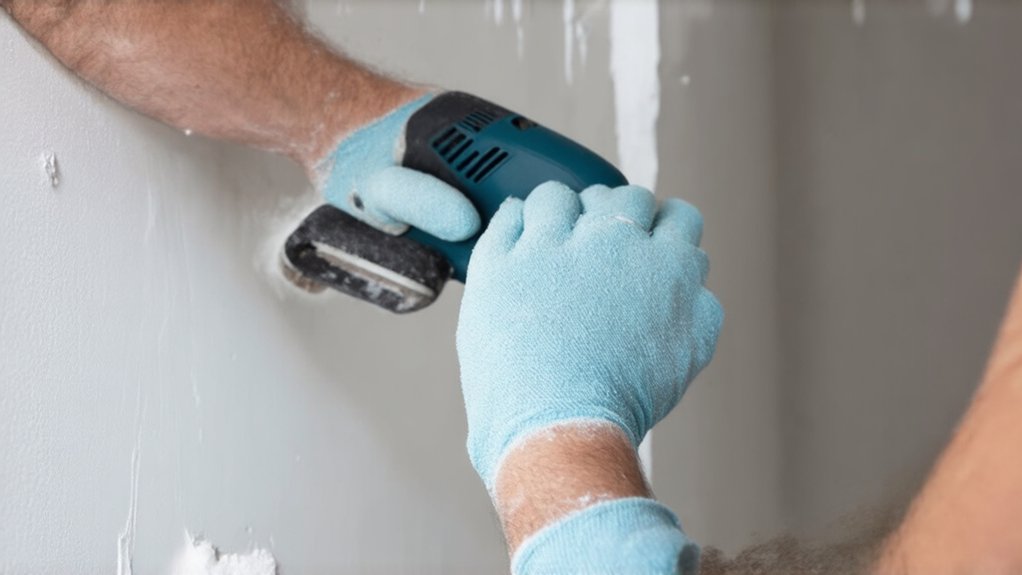
For power sanding, attach a sanding screen to your electric sander and move in slow, controlled motions to prevent gouging. Always wear a dust mask and safety glasses to protect yourself from fine particles.
Work systematically, checking your progress frequently under good lighting, and remember that minimizing dust creation is key to a professional-looking finish.
Common Mistakes to Avoid During Drywall Sanding
Although drywall sanding might seem straightforward, many DIY enthusiasts unknowingly make critical errors that can compromise their project's final appearance. You'll want to avoid not letting dust settle, which can create a messy workspace and potential health hazards.
Failing to clean properly between sanding stages can lead to uneven surfaces and visible imperfections. Wear a dust mask and safety glasses to protect yourself, and use a shop vacuum with a fine-dust filter to minimize airborne particles.
Take your time, use gentle pressure, and check your work frequently with proper lighting to catch and address any remaining bumps or uneven areas before painting.
Tips for Achieving a Perfectly Smooth Wall Finish
Perfecting a smooth wall finish requires strategic techniques and careful attention to detail.
When sanding drywall joints, you'll want to apply even pressure consistently across the surface. Start with coarse-grit sandpaper and gradually move to finer grits to achieve a uniform thickness. Work in smooth, circular motions, avoiding aggressive scrubbing that might create uneven patches.
Keep your sanding block or tool flat against the wall to prevent creating divots or ridges. Take your time, and don't rush the process. Patience is key to creating a professional-looking, flawless wall surface that'll make you proud.
Frequently Asked Questions
Can I Sand Drywall Without Creating a Huge Mess?
You'll want to use a dustless sander with a vacuum attachment and wear a protective mask. Hang plastic sheeting to contain dust, and consider working in a well-ventilated area to minimize airborne particles during your drywall project.
How Long Should I Wait Before Sanding Joint Compound?
You'll want to wait 24 hours for proper curing time, ensuring the joint compound reaches ideal moisture content. Don't rush—patience prevents sanding mishaps and guarantees a smoother finish that'll make your DIY project look professionally crafted.
Do I Need Special Protective Gear for Drywall Sanding?
You'll definitely want face masks and eye protection when sanding drywall. It's not just smart—it's essential. Dust can irritate your lungs and eyes, so protect yourself like a pro. Your health matters more than a perfect wall.
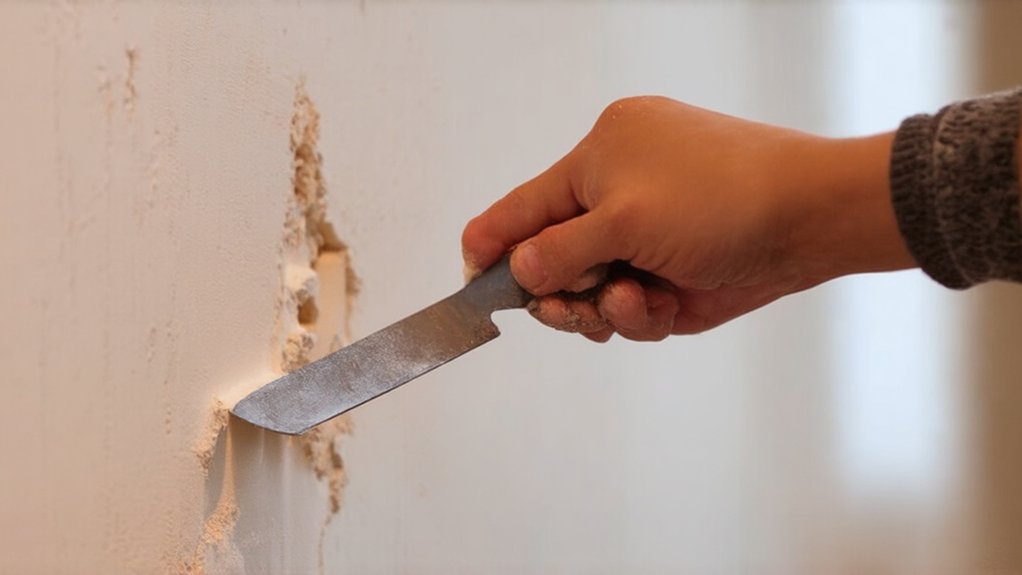
Can I Fix Deep Scratches or Uneven Areas After Sanding?
You can fix deep scratches by applying joint compound to fill in voids, then carefully sanding to smooth out imperfections. We've all been there—don't worry. With patience and the right technique, you'll create a flawless, professional-looking surface.
What's the Best Way to Clean up Dust After Sanding?
You'll want to start with a vacuum cleaner to remove loose dust, then follow up with a slightly damp cloth for a thorough cleanup. Don't forget to wear a mask and work carefully to capture all those fine particles.